
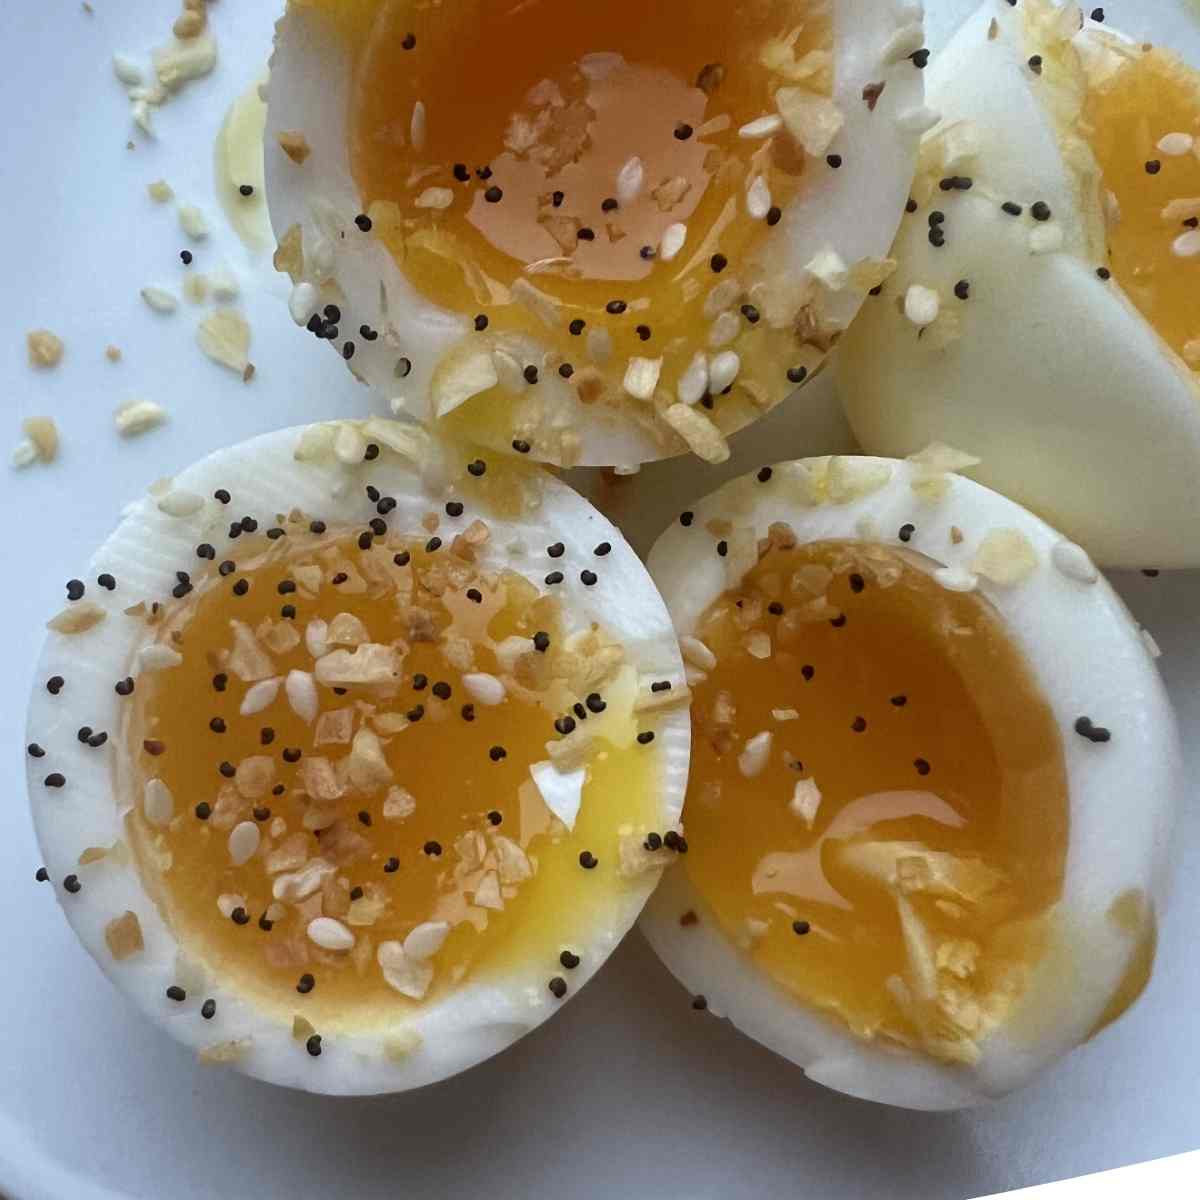
Jammy eggs are the perfect balance between soft-boiled and hard-boiled eggs. The whites are fully set, while the yolk stays thick, golden, and creamy in the center.
After testing several batches on the stovetop, I found that 7 minutes in boiling water produces the perfect jammy egg every time. The yolk becomes rich and spreadable without being runny.
These eggs are incredibly versatile and work beautifully on ramen, rice bowls, avocado toast, and salads.
This is a favorite new topic of mine because you can make some many different things with Jammy Eggs.
If you’ve ever wondered how restaurants get that perfect jammy yolk, the secret is simply timing and an ice bath.
Jump to:
- What are Jammy Eggs?
- Mayak Eggs - Korean Jammy Eggs
- Why You’ll Love Jammy Eggs
- Ingredients Needed for Jammy Eggs
- How to Make Jammy Eggs (Stovetop)
- Air Fryer Jammy Eggs
- Pro Tips for Perfect Jammy Eggs
- Jammy Egg Timing Guide
- Common Mistakes to Avoid
- Uses for Jammy Eggs
- Nutrition (Per Egg)
- Recipe FAQS
- 7-minute Jammy Eggs
What are Jammy Eggs?
Jammy eggs are soft-boiled eggs with fully set whites and a thick, custardy yolk. Most jammy eggs are cooked for about 7 minutes, which creates the perfect center for ramen, rice bowls, and salads. They are a perfect addition to this Tuna Rice Bowl recipe!
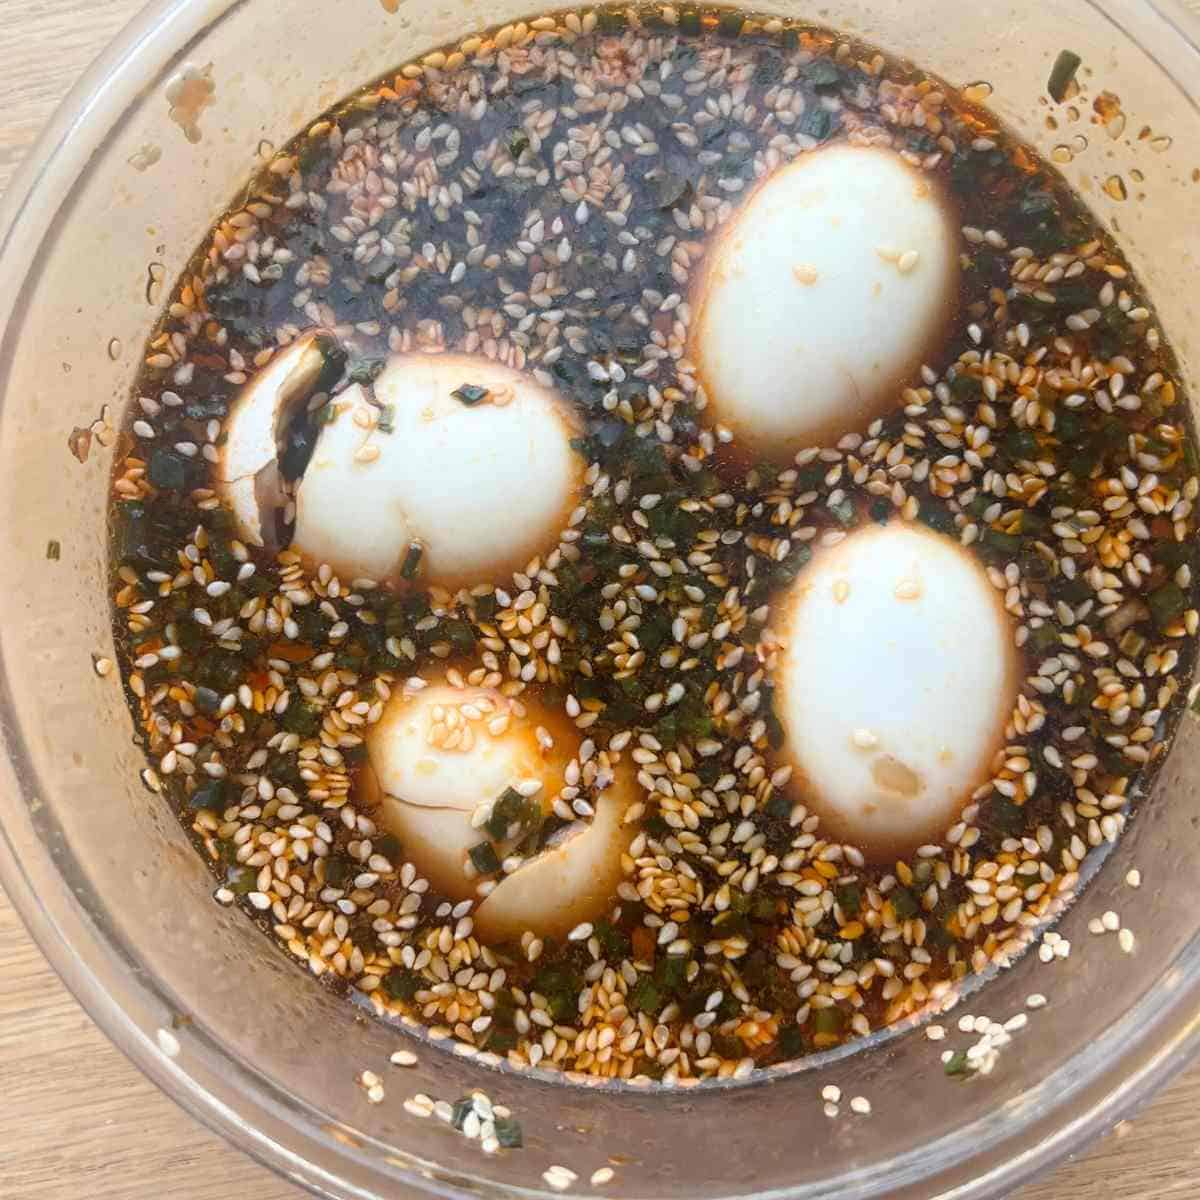
Mayak Eggs - Korean Jammy Eggs
Jammy eggs are the perfect base for making mayak eggs, a popular Korean marinated egg dish known for its rich flavor and soft, golden yolk. Mayak eggs start with soft-boiled eggs cooked until the yolk is slightly set but still creamy in the center. Which I've also been meaning to try lately!
The marinade is basically, soy sauce, water, onion chili crunch, garlic, onions, seasame seeds and whatever herbs you decide to put in there.
Once you learn jammy eggs you can add them to pretty much any kind of rice bowl.
Why You’ll Love Jammy Eggs
From experience, jammy eggs are one of the easiest ways to upgrade simple meals. I have tried making them in my Air Fryer Hard Boiled Eggs and on a Stove Top.
They are:
- Perfectly creamy without being runny
- High in protein and very filling
- Ready in about 10 minutes
- Great for ramen, rice bowls, and salads
- Easy to meal prep
The thick yolk creates a natural sauce that makes even simple dishes taste better.
Ingredients Needed for Jammy Eggs
- 4 large eggs - Cold eggs straight from the refrigerator actually work best for this method.
- Water (enough to cover the eggs)
- Ice (for the ice bath)
How to Make Jammy Eggs (Stovetop)
Step 1 Bring a pot of water to a gentle boil. Carefully lower the eggs into the boiling water using a spoon.
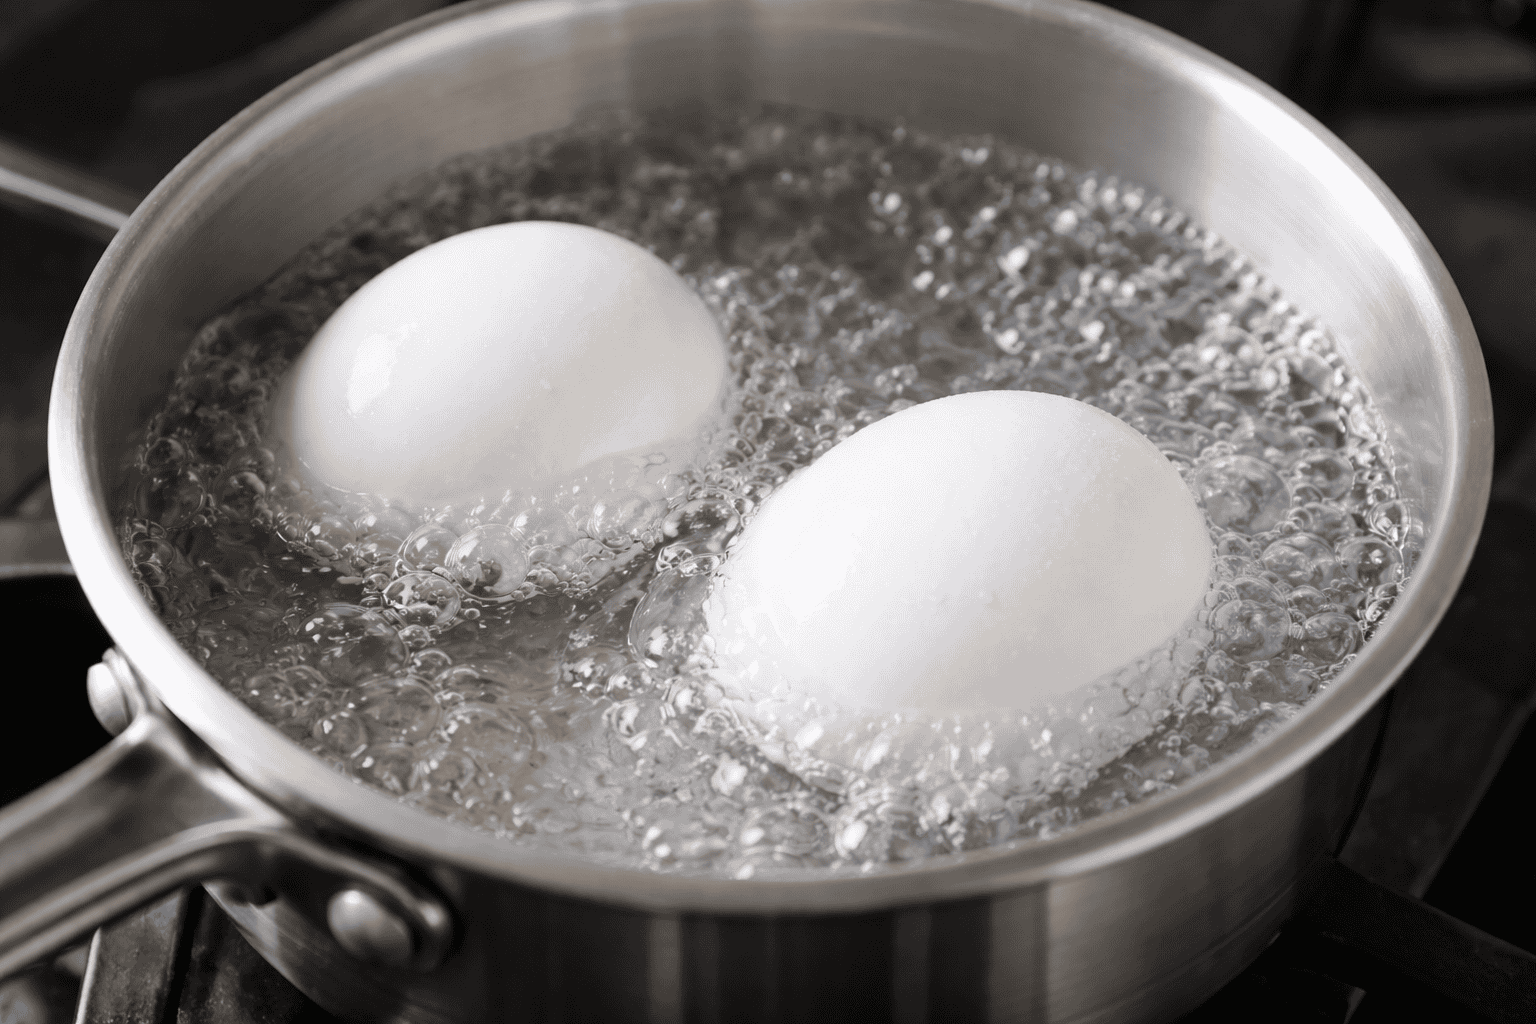
Boil the eggs for 7 minutes. Transfer the eggs immediately to an ice bath.
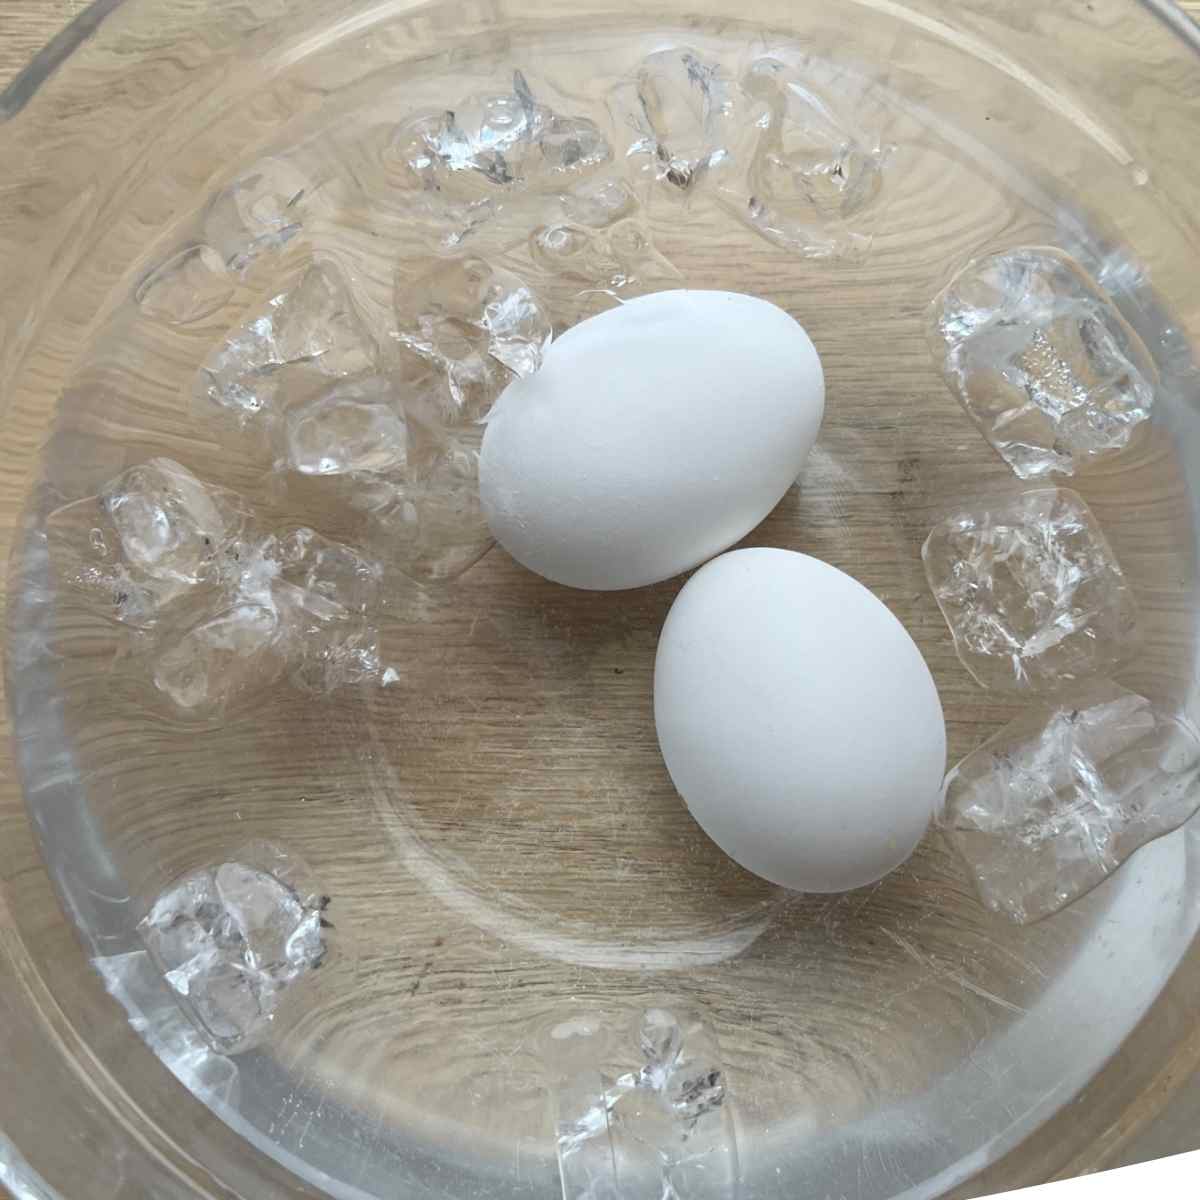
Let the eggs cool for 5 minutes before peeling.
The ice bath stops the cooking process so the yolks stay perfectly jammy.
Air Fryer Jammy Eggs
You can also make jammy eggs in the air fryer for an easy, hands-off method. Air fryer jammy eggs have set whites and a soft, jam-like yolk similar to soft-boiled eggs.
How to make air fryer jammy eggs:
- Preheat the air fryer to 270°F (132°C).
- Place cold eggs straight from the fridge into the air fryer basket.
- Cook for 9–11 minutes, depending on your air fryer and how jammy you like the yolk.
Pro Tips for Perfect Jammy Eggs
After making jammy eggs many times, I’ve found that a few small details make a big difference in getting the perfect texture every time.
Use a Timer - Jammy eggs are all about precise timing. Even an extra minute can change the yolk from creamy and jammy to fully set. Set a timer as soon as the eggs hit the boiling water so you don’t accidentally overcook them.
Start with Boiling Water - Adding eggs to already boiling water helps keep the timing consistent. If you start eggs in cold water, the heating time can vary depending on your stove and pot, which makes it harder to get the same results every time.
Use Cold Eggs from the Refrigerator - Eggs straight from the fridge actually work best for this method. The colder starting temperature helps slow the cooking slightly so the yolk stays creamy in the center while the whites cook through.
Jammy Egg Timing Guide
Egg doneness changes quickly depending on cook time.
| Cook Time | Result |
|---|---|
| 6 minutes | Very runny yolk |
| 7 minutes | Jammy yolk (perfect) |
| 8–9 minutes | Soft-set yolk |
| 11–12 minutes | Fully hard boiled |
Common Mistakes to Avoid
Overcooking the Eggs Cooking longer than 7 minutes will turn the yolks firm instead of jammy.
Skipping the Ice Bath Without the ice bath, the eggs continue cooking and lose their creamy center.
Cracking Eggs Into Boiling Water - Lower them gently with a spoon to prevent cracking.
Uses for Jammy Eggs
Jammy eggs are incredibly versatile and can add flavor, richness, and protein to many different meals. The creamy yolk creates a natural sauce that pairs well with simple ingredients.
Here are some of the best ways to use jammy eggs.
Tiktok Ramen with Soy Sauce and Brown Sugar - Jammy eggs are a classic topping for ramen. The rich yolk blends into the broth and adds extra flavor and protein to the dish.
Tuna Rice Bowl - Slice a jammy egg in half and place it on top of a rice bowl with vegetables, avocado, or grilled protein. The yolk adds a creamy texture that ties the whole bowl together.
Air Fryer Avocado Toast - Avocado Toast Jammy eggs are perfect on avocado toast. Sprinkle with a little flaky salt, black pepper, and red pepper flakes for a quick and satisfying breakfast.
Salads Adding a halved jammy egg to salads makes them more filling and adds extra protein. They work especially well with spinach, arugula, or grain-based salads.
Check out jammy eggs cousin - Deviled Eggs!
Nutrition (Per Egg)
- Calories: ~70
- Protein: ~6 g
- Fat: ~5 g
- Carbohydrates: 0 g
Eggs are a great source of high-quality protein and healthy fats.
Recipe FAQS
Most jammy eggs cook in 7 minutes in boiling water, followed by an ice bath to stop the cooking process. This timing gives you firm whites and a creamy, jammy yolk.
For consistent results, jammy eggs are usually added to already boiling water. Starting with boiling water helps control the cooking time more precisely.


Want to Save This Recipe?
Enter your email & I'll send it to your inbox. Plus, get great new recipes from me every week!
By submitting this form, you consent to receive emails from Recipes Diaries.

7-minute Jammy Eggs
- Cook Time: 7 min
- Total Time: 7 min
- Yield: 2 1x
- Category: Appetizer, Easy
- Method: Boiling
- Cuisine: American
- Diet: Dairy-Free
Ingredients
4 large eggs
Water (enough to cover the eggs)
Ice (for the ice bath)
Instructions
- Bring a pot of water to a gentle boil.
- Carefully lower the eggs into the boiling water using a spoon.
- Boil the eggs for 7 minutes.
- Transfer the eggs immediately to an ice bath.
- Let the eggs cool for 5 minutes before peeling.
Notes
Always use an ice bath and peel under water!
Nutrition
- Serving Size: 1
- Calories: 70


Leave a Reply