Skip to main content
Skip to primary sidebar
Recipe Diaries
menu icon
Summer
Recipes
Press
About
Pinterest
TikTok
YouTube
search icon
search...
Summer
Recipes
Press
About
Pinterest
TikTok
YouTube
×
Home
»
Recipes
»
Breakfast
Quick & Easy Breakfast Recipes
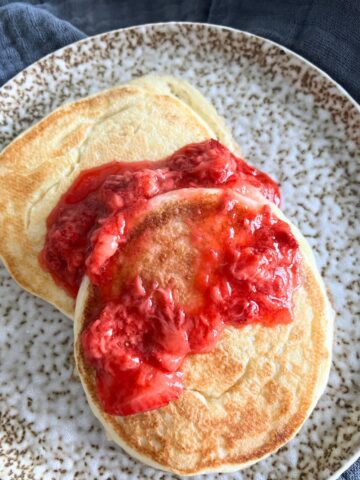
Weight Watchers Pancake(No Bananas)
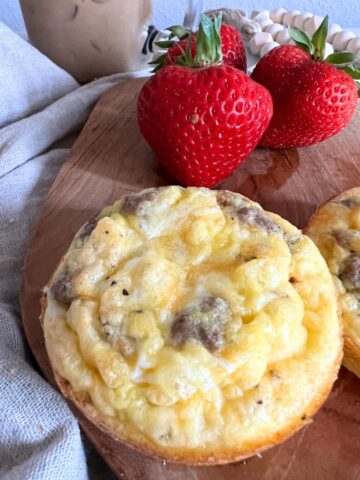
(4 Ingredients) Egg and Sausage Muffins
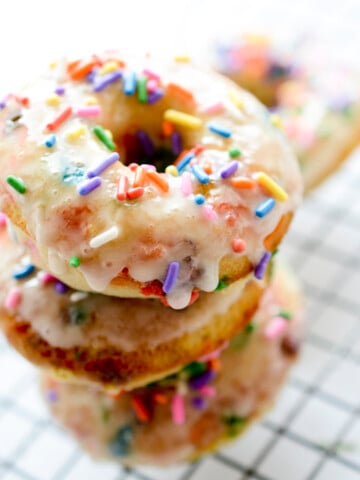
Baked Funfetti Glazed Doughnuts
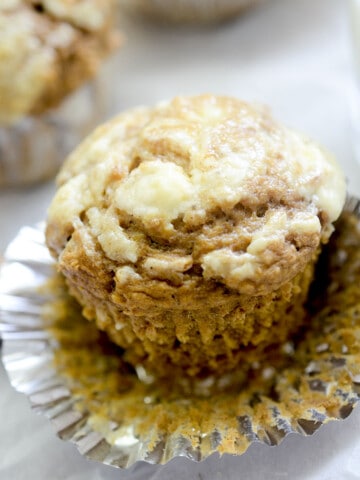
Easy Pumpkin Cream Cheese Swirl Muffins
Posts navigation
Previous page
1
2