
If you love thick and creamy Dairy Queen Blizzards, you’ll be happy to know you can easily make a similar treat at home using regular store-bought ice cream and your favorite mix-ins. This simple copycat dessert comes together in just minutes and lets you customize flavors exactly how you like.
Homemade Blizzards are perfect for summer cravings, movie nights, or when you want a fun ice cream treat without making a trip to the drive-thru. With the right mixing technique, you can achieve that signature thick texture that makes Blizzards so popular.
For more viral and fun recipes check out Crescent Roll Bread Hack or Cassie's Viral Raw Carrot Salad
Jump to:
Why You’ll Love This Homemade Blizzard
- Cheaper than buying takeout desserts
- Quick and easy to make
- No special equipment required
- Fully customizable flavors
- Thick, creamy milkshake-like texture
- Great summer dessert idea
Ingredients Needed For Dairy Queen Blizzard
- Vanilla Ice Cream: 2 cups (softened slightly for easier mixing)
- Mix-ins: Choose your favorites, such as crushed cookies, candy pieces, or fruit. Aim for about ½ to 1 cup of mix-ins, depending on your preference.
- Milk: 2 tablespoons (to help with blending)
Equipment
- Stand Mixer: Ensure you have the paddle attachment ready.
- Large Mixing Bowl: To accommodate all ingredients.
- Spatula: For folding and serving.
How to Make a DQ Blizzard with Stand Mixer
Step 1 Soften the Ice Cream: Leave the ice cream out for a few minutes to soften slightly. This makes it easier to mix without melting too much.
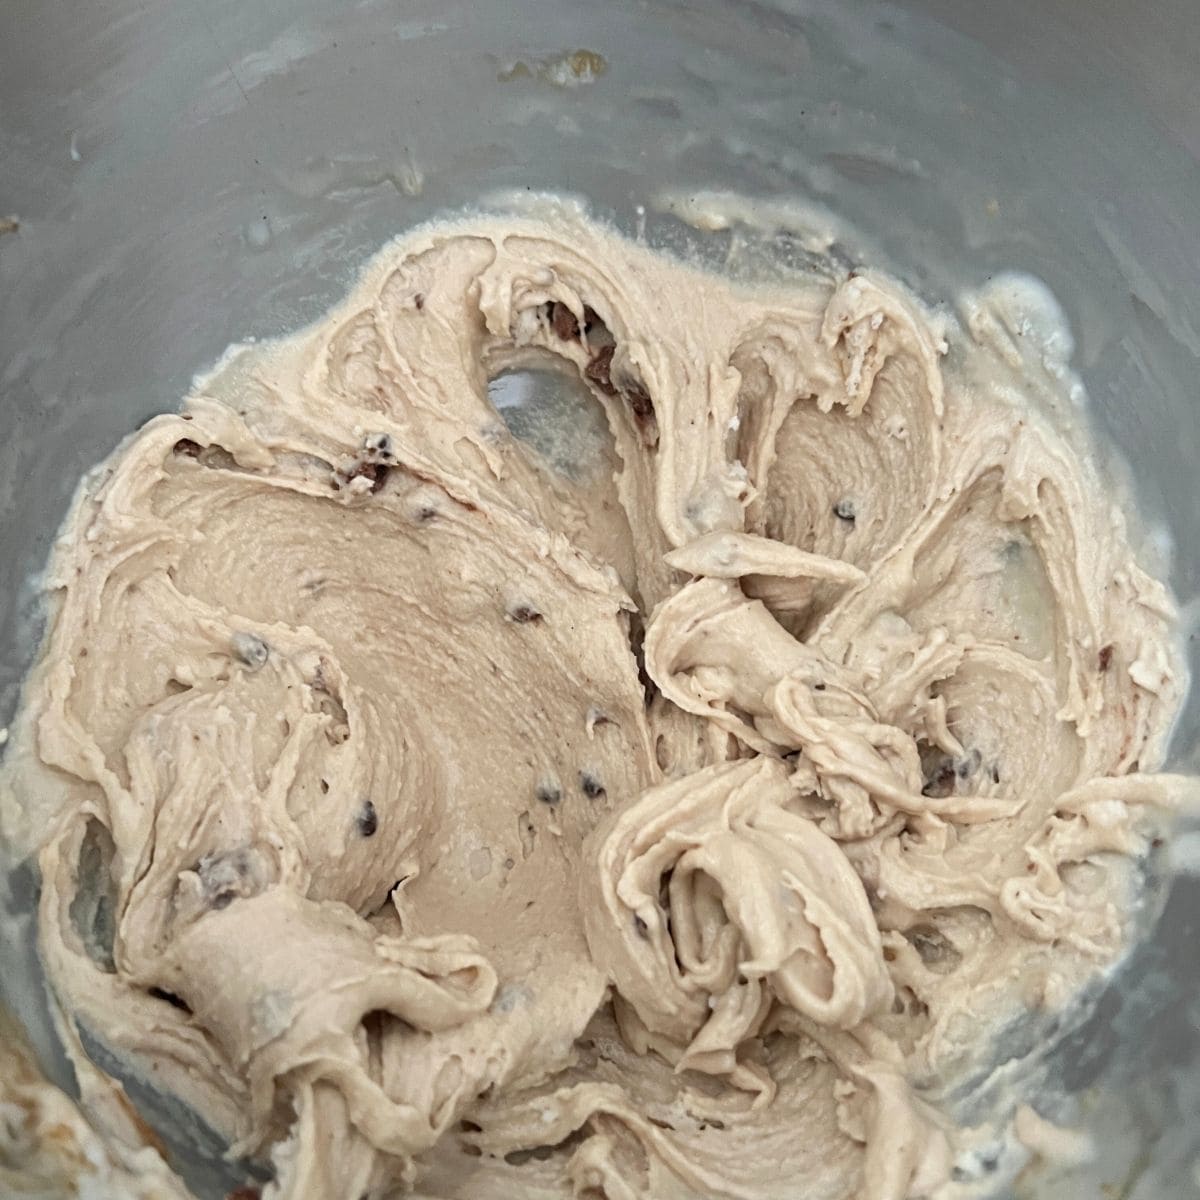
Step 2 Add Ice Cream to the Bowl: Place the softened ice cream into the stand mixer bowl. Add Milk: Pour in the milk to help with blending. Mix on Low Speed: Using the paddle attachment, mix on a low speed until the ice cream is smooth but still thick.
Add Mix-ins: Gradually add your chosen mix-ins to the ice cream base.
Fold or Mix Gently: Use the mixer on low speed or a spatula to fold in the mix-ins evenly throughout the ice cream. Be careful not to overmix, as this can cause the ice cream to melt.
How to Get the Perfect Blizzard Texture
- Slightly softened ice cream blends best
- Stir quickly to incorporate air
- Avoid adding too much milk
- Freeze for 5–10 minutes if mixture becomes too soft
- Use thick, creamy ice cream brands for best results
How to Serve
- Check Consistency: Ensure your Blizzard is thick and holds its shape. If it’s too soft, place it in the freezer for a few minutes.
- Serve Immediately: Scoop the Blizzard into cups or bowls and enjoy. Optionally, you can garnish with additional toppings.
Variations to Try at Home
- Oreo Cookies: Crushed into small pieces.
- M&Ms or Chocolate Chips: Whole or crushed.
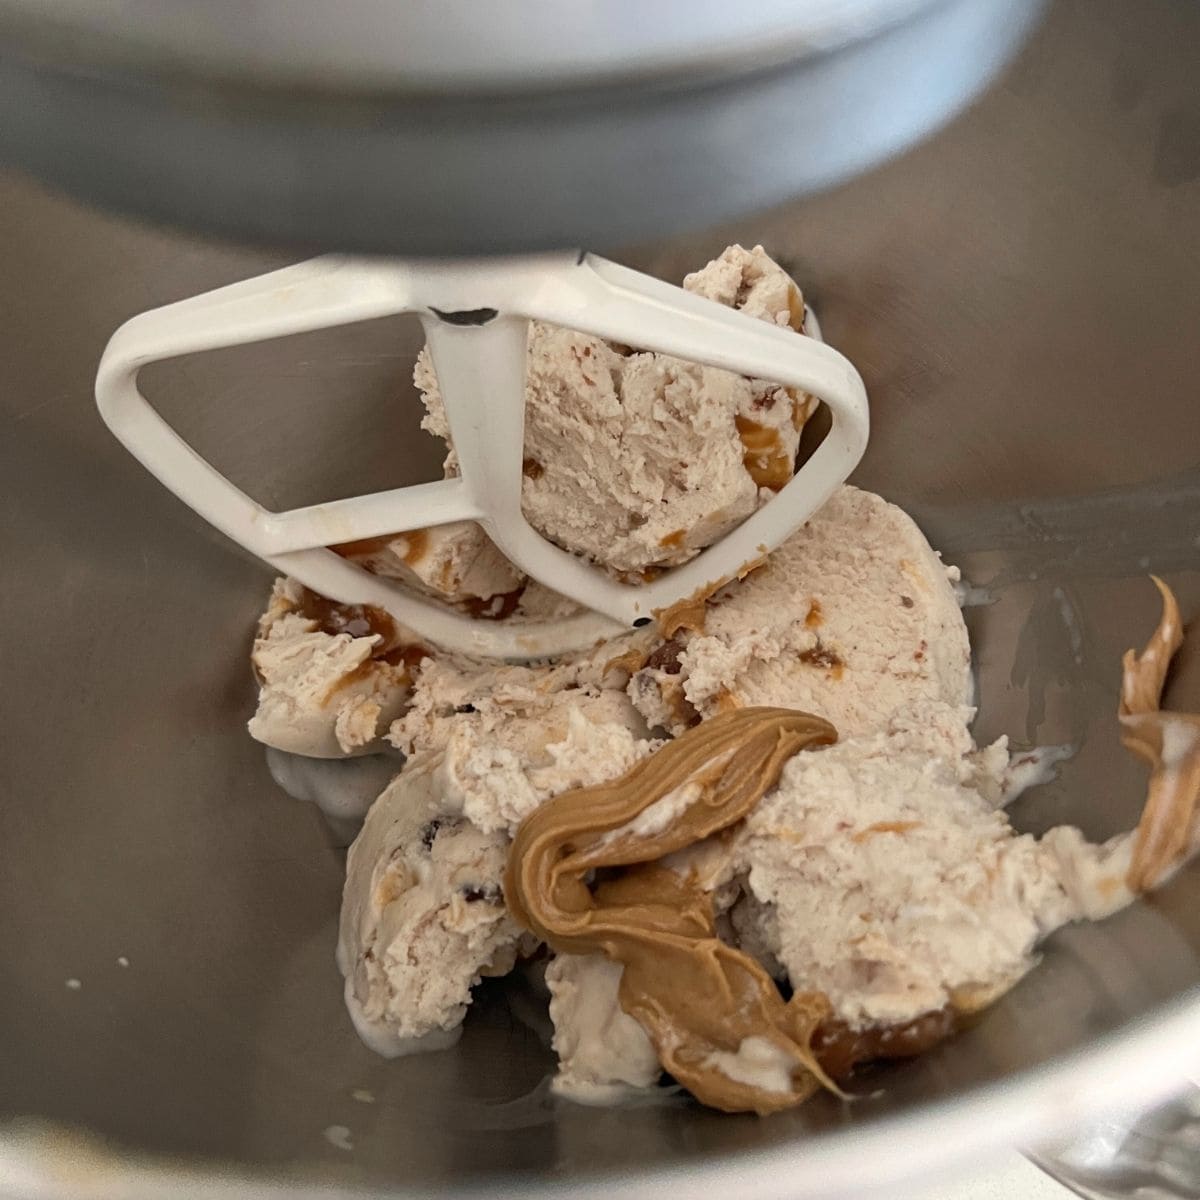
- Reese's Pieces or Mini Peanut Butter Cups: Mix in peanut butter cups and a drizzle of peanut butter.
- Cooking Dough Blizzard - Stir in edible cookie dough pieces and chocolate chips.
- Brownie Bits: Small chunks for a chewy texture.
- Strawberry Cheesecake Blizzard: Mix in graham crackers, cream cheese pieces, and strawberries.
Tips for Success
- Experiment with Flavors: Feel free to try different ice cream flavors or mix-in combinations to create unique Blizzard variations.
- Watch the Mixing Time: Avoid overmixing to prevent the ice cream from becoming too runny.
- Use Quality Ingredients: High-quality ice cream and fresh mix-ins can make a big difference in taste and texture.
With these steps, you're ready to enjoy a homemade Dairy Queen Blizzard, tailored to your taste, right from the convenience of your kitchen. Happy mixing!
Storage Tips
Blizzards are best enjoyed fresh. Leftovers can be stored in the freezer for up to 1 week, but may require stirring or softening before serving.


Leave a Reply