Uncategorized
-
Air Fryer Recipes for Beginners
-
Air Fryer Cookie Dough
-
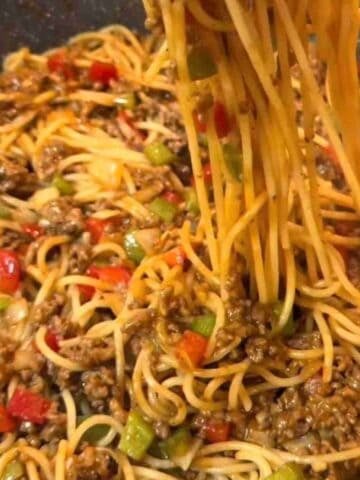
Dirty Spaghetti Tiktok Recipe
-
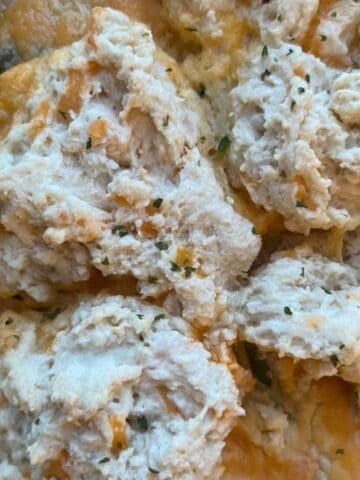
Cheddar Bay Biscuit Casserole
-
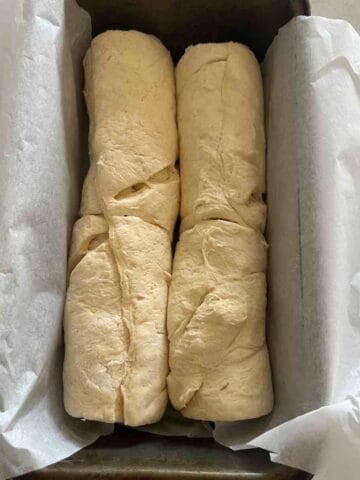
Crescent Roll Bread Hack
-
Air Fryer Edamame
-
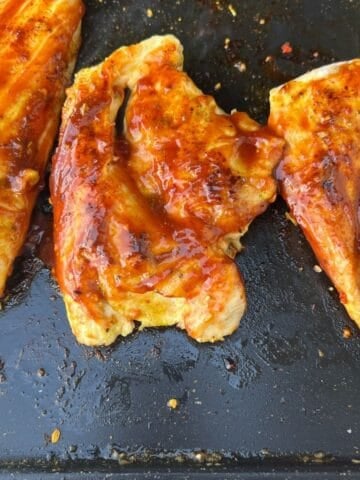
Blackstone Chicken Recipes
-
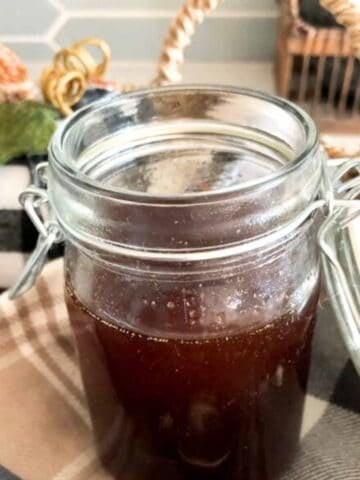
Pumpkin Spice Syrup - No Puree
-
Baked Pumpkin Oats - for One
-
Apple Pie Nachos
-
5 Easy Recipes with Cake Mix and Canned Pumpkin
-
Caramel Pumpkin Poke Cake
-
Apple Pie Cookies with Cake Mix
-
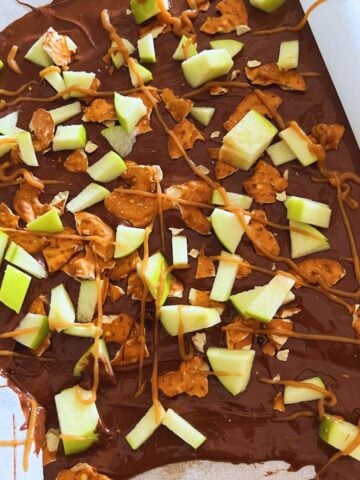
Caramel Apple Bark
-
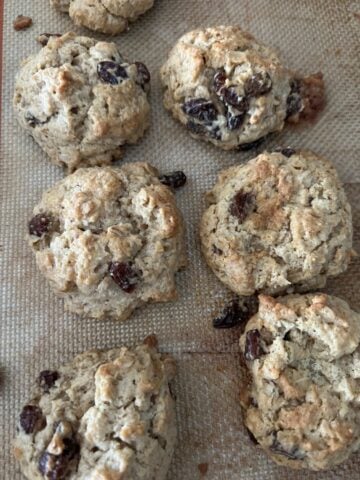
Soft and Chewy Oatmeal Raisin Cookies
-
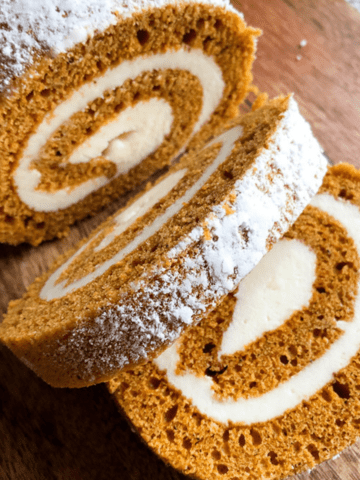
Pumpkin Cake Roll Recipe
-
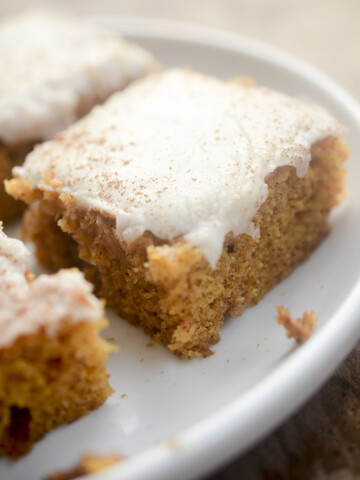
Grandma's Pumpkin Bar Recipe