Browse hundreds of recipes that run the gamut from healthy to indulgent to trending. From TikTok influenced to Weight Watchers-approved, pull up your air fyer and find a new favorite today!
Recent Recipes


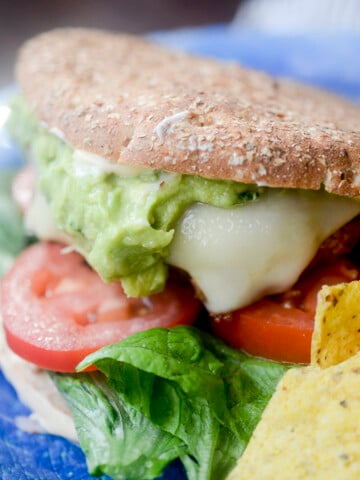
Weight Watchers Recipes


See more Weight Watchers recipes →
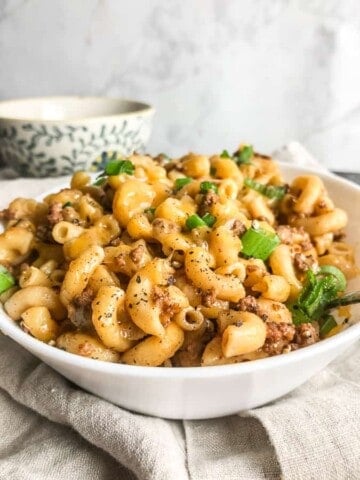
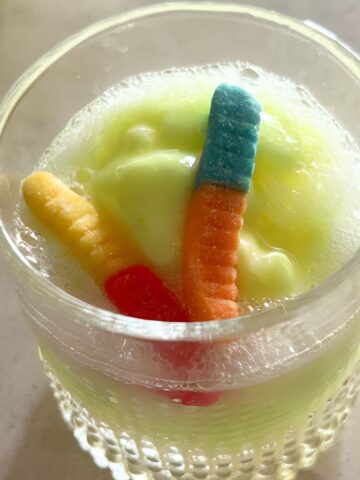
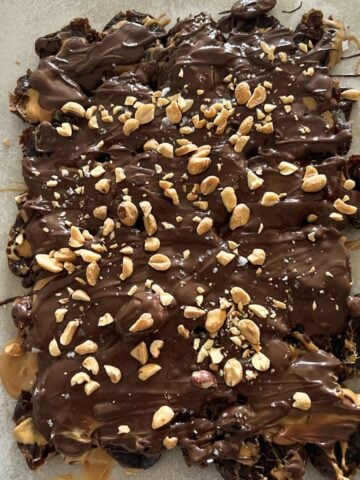
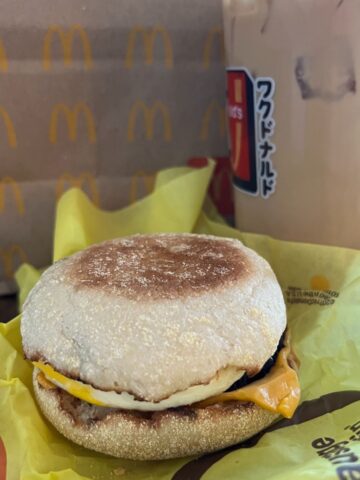
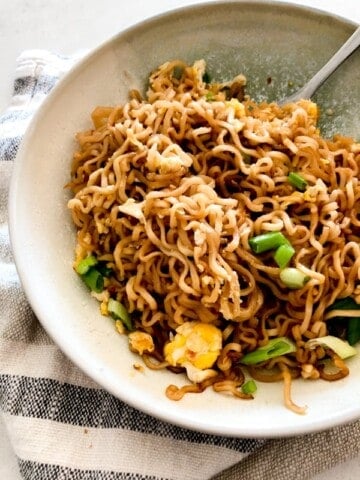
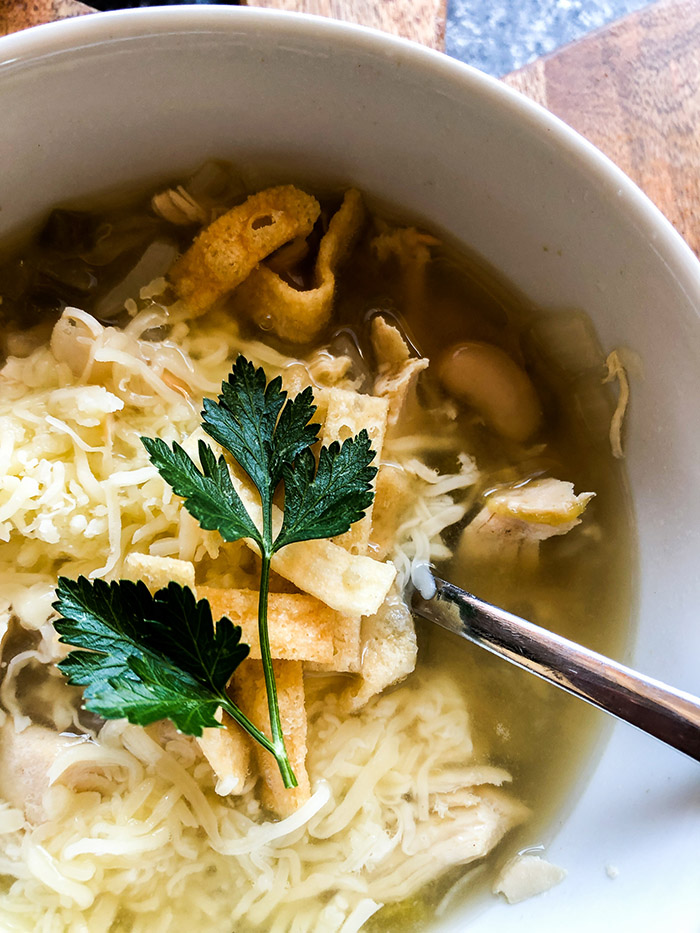
Trending Recipes


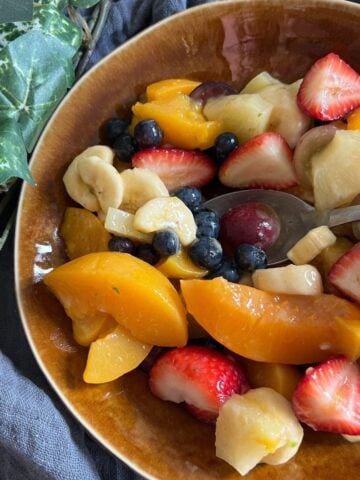
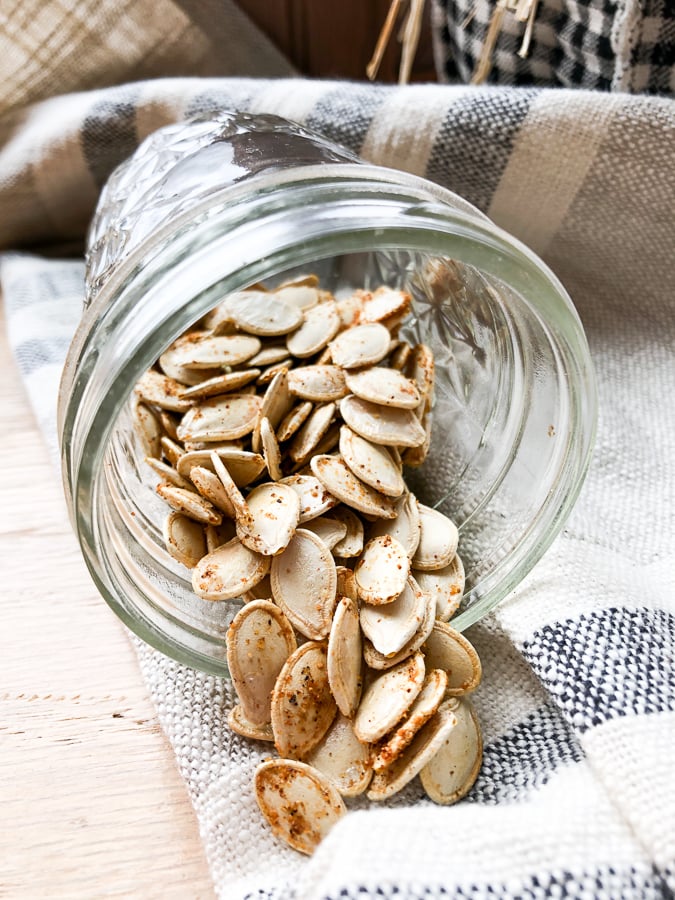
Fall Recipes
Enjoy your favorite Fall flavors for the season in pie, salads, and baked goods!
See more Fall recipes →
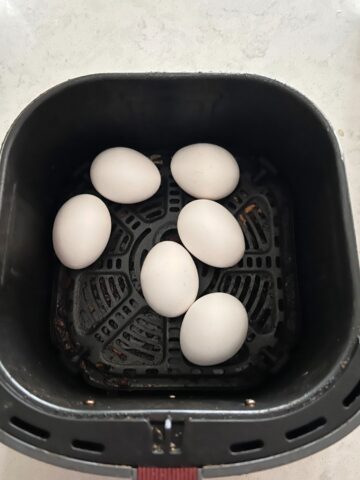
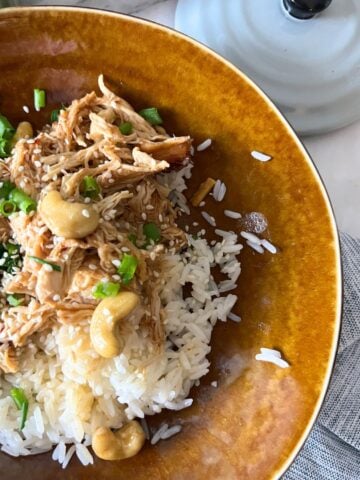
Air Fryer Recipes
These are my favourite family style air fryer recipes!

See more air fryer recipes →
Slow Cooker | Instant Pot
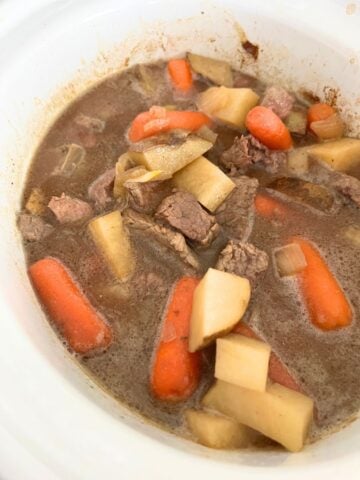
See more slower cooker | instant pot recipes →

About Jenna
Hey, I'm Jenna! I'm a graphic designer, photographer, and home cook from From Fargo ND. My air fryer is my favorite kitchen appliance to cook with. I created this blog to share recipe tips and tricks with everyone, enjoy!